Table of Contents
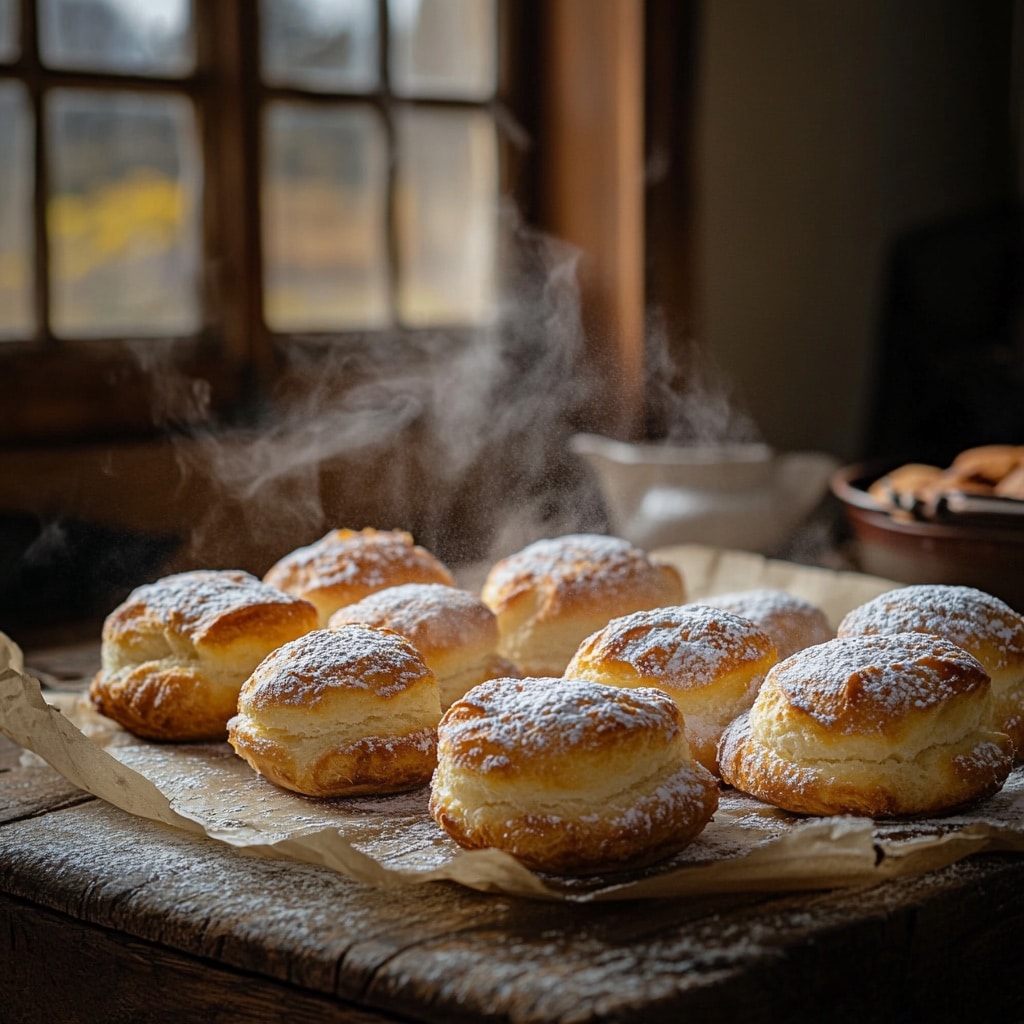
Nun’s puffs recipe fans, let me take you straight into the kind of baking that feels like a little magic. These pastries are puffed, golden, and delightfully hollow inside, just begging for a dusting of powdered sugar or a drizzle of honey. The best part? You only need pantry staples and a bit of heat to make it all happen.
In this article, I’ll guide you through my favorite version of this old-world recipe, share troubleshooting tips, and answer questions that every home baker faces with choux-style dough. Whether you’re serving brunch, tea, or a cozy dessert, these puffs rise to the occasion every single time.
Print
Nun’s Puffs Recipe: Light, Golden, and Surprisingly Simple to Make
- Total Time: 50 minutes
- Yield: 12 puffs
- Diet: Vegetarian
Description
A simple nun’s puffs recipe that creates golden, airy pastries with basic ingredients and a quick choux method. Perfect for breakfast or dessert.
Ingredients
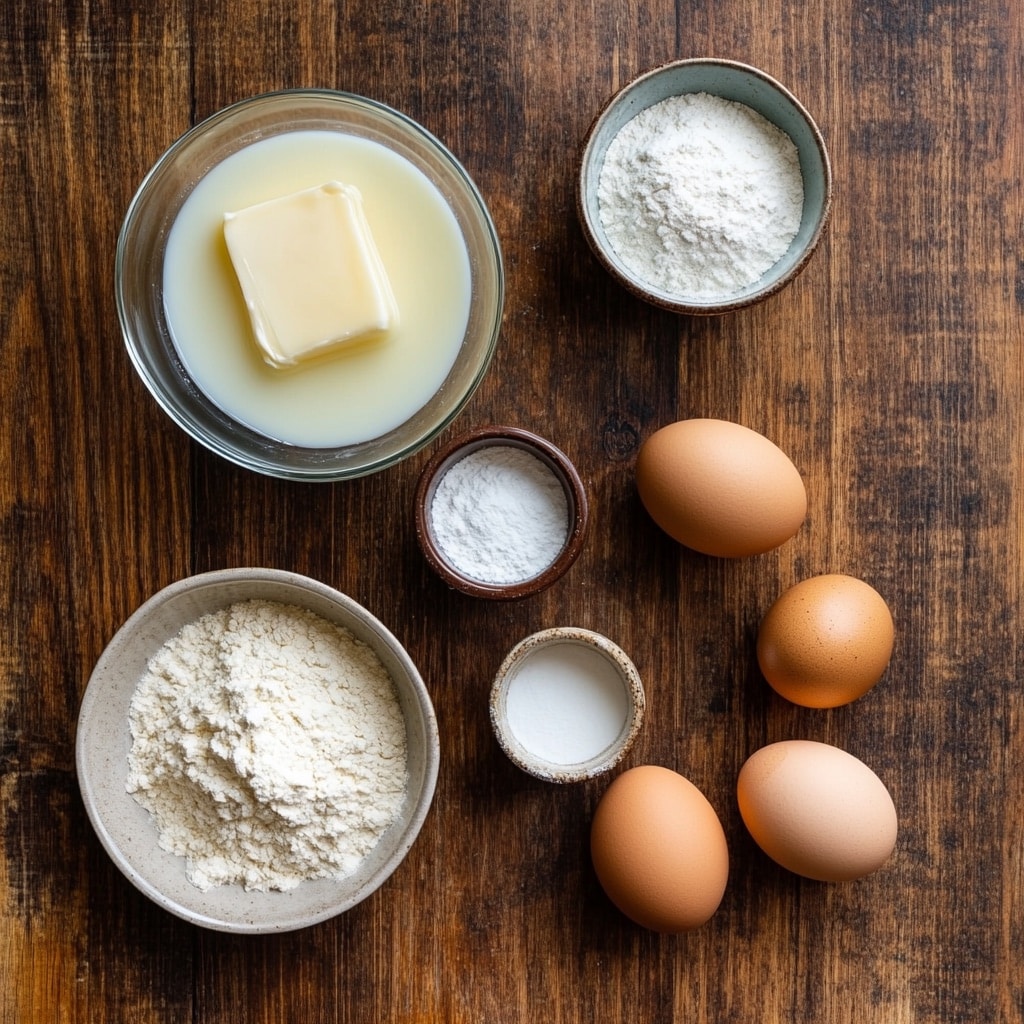
1/2 cup unsalted butter
1 cup whole milk
3/4 cup all-purpose flour
1 tablespoon sugar (optional)
1/4 teaspoon salt
4 large eggs
Powdered sugar or honey for topping
Instructions
1. Preheat oven to 375°F and grease a 12-cup muffin tin.
2. In a saucepan, heat butter and milk until simmering.
3. Add flour, sugar, and salt; stir vigorously until dough forms.
4. Let dough cool slightly, then beat in eggs one at a time.
5. Spoon into muffin cups, filling 2/3 full.
6. Bake 30–35 minutes until puffed and golden.
7. Cool slightly, top with powdered sugar or honey, and serve.
Notes
For savory puffs, skip the sugar and add herbs or cheese.
Best served warm.
To store, reheat in the oven for crispness.
- Prep Time: 15 minutes
- Cook Time: 35 minutes
- Category: Bake
- Method: Oven
- Cuisine: French-American
A Sweet Memory and the Magic of Puff Pastry
How a Morning Mishap Led to My Nun’s Puffs Obsession
One quiet Sunday morning in my North Carolina kitchen, I had extra choux batter from a failed cream puff experiment. With my muffin tin already greased, I spooned the leftover dough in just to see what would happen. A little while later, my kitchen smelled like buttered heaven. When I opened the oven door, I was stunned, golden clouds had formed. They were crisp, airy, and totally irresistible. My husband and daughter devoured them before I could even dust the tops with sugar. That was the moment I fell in love with the nun’s puffs recipe.
I later learned these rustic pastries have roots in French convent kitchens, where resourceful nuns baked simple, elegant treats with limited ingredients. The name Nun’s Puffs is derived from the French phrase “pets de nonne,” humorously meaning “nun’s farts”, an amusing origin for such a light and delicate treat featured in this classic Nun’s Puffs recipe. Their charm lies in the contrast: rustic yet refined, delicate yet made from pantry basics.
What Makes Nun’s Puffs Unique Among Cream Puffs?
The dough for nun’s puffs is the same choux pastry used for éclairs and profiteroles, but the approach is more relaxed. Instead of piping the batter into neat little rounds, you drop it by spoonfuls into a muffin tin or iron skillet. That’s the beauty of this nun’s puffs recipe, it doesn’t demand precision, just good ingredients and a hot oven.
Unlike cream puffs, which are filled after baking, nun’s puffs are served as-is, often with just a sprinkle of powdered sugar or a drizzle of honey. The result? A crisp exterior, a custardy, hollow center, and a wonderfully eggy flavor that makes them perfect for breakfast, dessert, or afternoon tea.
For another airy favorite, try my Cream Puffs with Whipped Vanilla Filling, or explore this 5-Ingredient Choux Pastry Hack to master the dough with ease.
The Core of a Perfect Puff
Ingredients That Set the Stage
A great nun’s puffs recipe relies on a handful of basics, but how you treat them makes all the difference. Butter, flour, milk, and eggs don’t sound glamorous, yet together they create something wonderfully airy and golden.
Choose unsalted butter for control, you want to build flavor, not oversalt the final result. Whole milk gives richness, encouraging that soft, almost custard-like interior. For the flour, all-purpose works beautifully, providing the structure to puff without heaviness. Fresh eggs bring the batter to life, giving it the strength to rise. And don’t forget the salt, it’s the flavor anchor.
The method is where the real magic happens. You begin by simmering the milk and butter together. Then comes the dramatic moment: add the flour all at once, stirring briskly until it forms a thick dough. This brief cooking step allows the starch to firm up and makes the puffs lighter. Once the dough cools just a bit, you’ll add the eggs one at a time, transforming the thick ball of dough into a silky, pipeable batter.
Looking to experiment? Swap in grated cheese and herbs for a savory brunch twist. Or brighten the flavor with orange zest and a spoonful of honey.
Curious about more foolproof baking basics? My foundational choux guide is a perfect place to build confidence.

Simple Techniques That Guarantee Lift
Choux dough doesn’t have to be intimidating. If you follow a few essentials, it becomes one of the most reliable tools in your baking arsenal.
Stir vigorously as the flour cooks in the saucepan. Once the dough forms a smooth ball and pulls away from the sides, it’s ready. After that, patience matters. Let it cool slightly before beating in your eggs. Add them one at a time, fully incorporating each before the next. You’re aiming for a consistency that holds its shape but isn’t stiff.
One of my go-to tips? Rest the filled muffin tin at room temperature before baking. It allows the batter to settle, which helps the puffs rise evenly. And once they go into the oven, don’t peek. Steam is what makes them soar, and opening the door too soon lets all that precious heat escape.
If baking multiple trays, switch their positions halfway through to keep things consistent. A small change, big difference.
Want more rustic oven wonders like this one? Browse my collection of cozy bakes for your next Sunday morning project.
Troubleshooting – Common Cream Puff Problems
Why Cream Puffs Fall Flat (And How to Save Them)
One of the most common frustrations with a nun’s puffs recipe is watching those beautiful puffs collapse just minutes after coming out of the oven. It’s disappointing, but also fixable. The root cause is often steam. Choux pastry relies on steam to rise, so if your oven isn’t hot enough, or if you open the door mid-bake, that precious lift escapes. Result? Flat puffs.
Underbaking is another culprit. If the interior isn’t set before you pull them out, the structure won’t hold. You want a deep golden brown shell, that’s your visual cue. Another sneaky cause? Overmixing the eggs. It can weaken the dough, leaving it too slack to support a rise.
Be sure to preheat your oven completely before baking, Nun’s Puffs need that instant burst of heat to rise tall and turn beautifully golden. If you’re not sure your oven holds steady heat, consider using an oven thermometer, it’s one of the best tools a home baker can have. And never skip the resting time before baking. A short pause allows the dough to stabilize, which helps with that consistent puff.
How to Keep Puffs from Getting Soggy
You nailed the bake, your puffs are golden and gorgeous. But a few hours later, they’re damp and limp. Sound familiar? It’s a common challenge with choux-style bakes like nun’s puffs, and the fix is all about storage and ventilation.
After baking, let your puffs cool on a wire rack, this prevents condensation from forming underneath. If you’re planning to fill or store them, pop them back in a warm oven (around 300°F) for 5–7 minutes to dry the interior slightly before cooling again.
Once completely cool, store them in an airtight container lined with a paper towel, or loosely cover them if you’re only waiting a short while to serve. Avoid the fridge, it introduces moisture. If you must store them longer, freeze them instead, then re-crisp in the oven before serving.
This ties directly to a common beginner question: What is the most common problem in making cream puffs? The answer is usually moisture, either in the batter or after baking. Mastering that balance is the key to a truly successful nun’s puffs recipe.
For more beginner-friendly pastry tips, check out these foolproof French bakes or my favorite easy brunch recipes.
Storage, Serving, and Sweet Touches
Serving Ideas: From Simple to Sweet
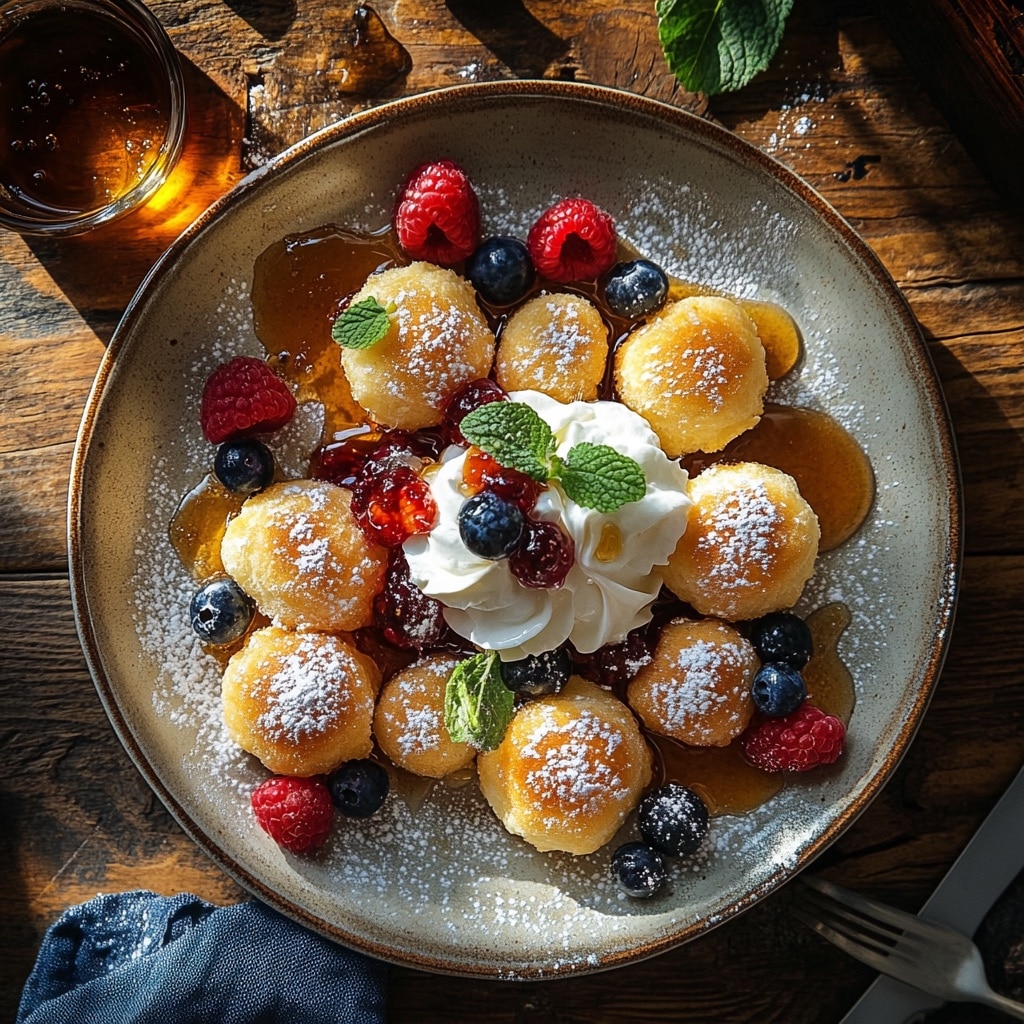
Once you’ve mastered the basic nun’s puffs recipe, the fun really begins. These puffs are delicious right out of the oven, but a few small touches can turn them into something truly special. For a sweet brunch or dessert, I like to dust them with powdered sugar while still warm. The sugar melts slightly into the golden crust, giving a beautiful, almost frosted effect.
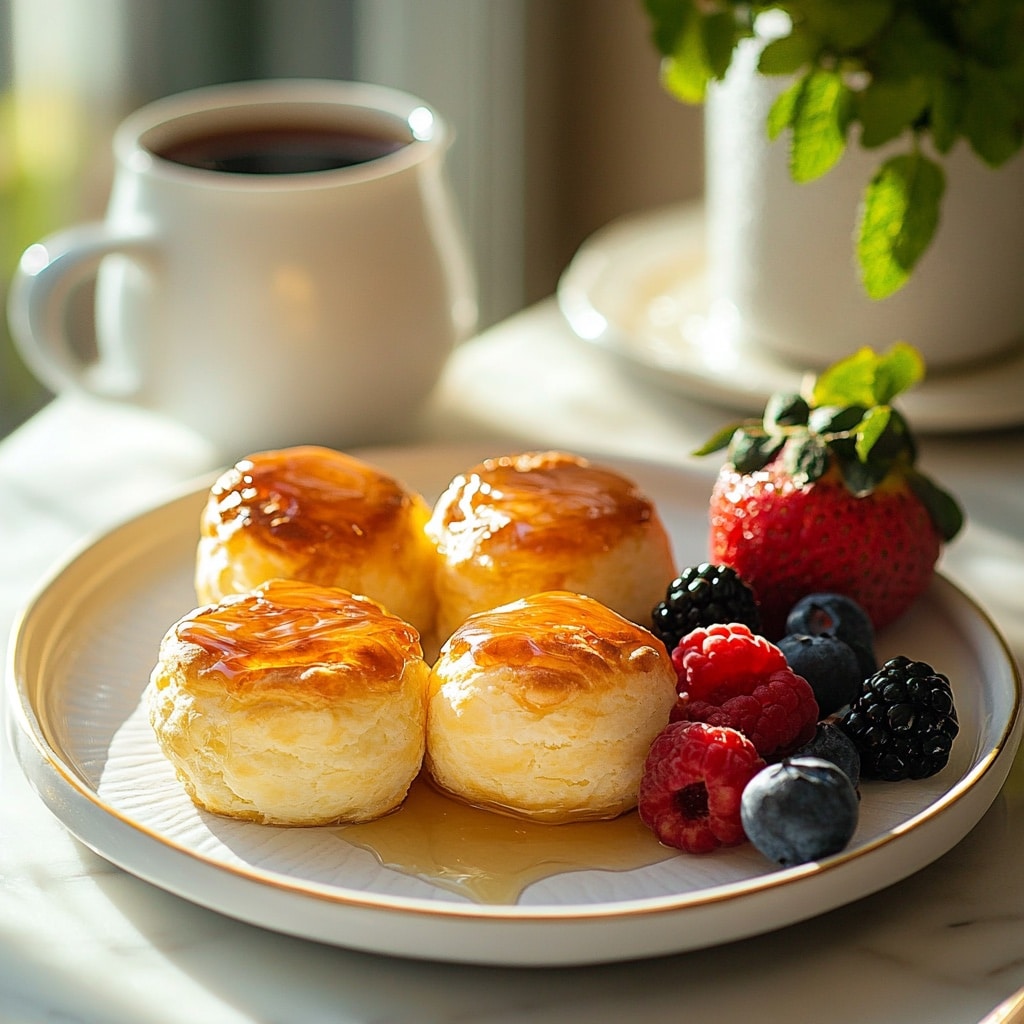
For something a bit more decadent, try a drizzle of honey, maple syrup, or even a spoonful of fruit preserves. A small scoop of whipped cream or mascarpone on the side turns them into a plated dessert. If you’re serving brunch, these pair beautifully with a fruit salad or a strong cup of black coffee.
Going savory? Skip the sugar in the batter and sprinkle sea salt on top before baking. Serve them with herbed cream cheese or smoked salmon. Their hollow center makes them perfect for light fillings, just keep it airy to preserve the texture.
These puffs fit seamlessly into both casual breakfasts and elegant brunch spreads. Want more ideas? I’ve got you covered with Southern Brunch Pastries and Family Breakfast Favorites.

Storing Puffs the Right Way
Let’s talk about keeping your puffs at their best. The key here is dryness. Once they’ve cooled fully, you can store them in an airtight container lined with a paper towel to absorb any residual moisture. This works well for up to a day. To restore crispness, simply reheat them in a 325°F oven for 5–8 minutes.
Should you refrigerate cream puffs? Not unless they’re filled with perishable cream or custard. Refrigeration softens the shell and invites sogginess. If you’re prepping ahead for an event, freezing is your best bet. Arrange the cooled puffs in a single layer on a baking sheet, freeze until solid, then store in freezer bags. When ready to serve, reheat directly from frozen in a hot oven, no thawing required.
With these storage tricks, your nun’s puffs recipe can be made ahead and still taste freshly baked.
Why They’re Called Nun’s Puffs
A Bite of History
The name “nun’s puffs” might sound charmingly odd today, but its origin goes back centuries. It comes from the French phrase “pets de nonne,” which quite literally translates to “nun’s farts.” While that might raise eyebrows now, the phrase was common in old French kitchens, referring to light, airy treats that seemed to puff into existence.
Back in medieval convents, nuns were known for their resourceful cooking. They often baked simple pastries using ingredients they had on hand, flour, eggs, milk, and butter. With no need for fancy equipment or fillings, the batter was spooned into hot pans and baked until it puffed and crisped. It’s likely that the humor of the name stuck, especially since the pastries rose and hissed slightly while baking.
Over time, this humble treat made its way from European convents to home kitchens across the world. In North America, the name was softened to “nun’s puffs,” preserving the playful spirit without the original literal translation. Still, the essence remained the same, a rustic, comforting recipe made with just heart and heat.
If you enjoy food history with flavor, don’t miss my Old World Dessert Series or dive into Heritage Bakes that Tell a Story.
A Recipe Passed Through Generations
What makes this nun’s puffs recipe so special is how unchanged it remains. I first discovered it not in a cookbook, but in a hand-written recipe card passed from a friend’s grandmother. That card was stained, creased, and clearly loved. The instructions were vague, “bake until puffed and golden”, and yet, the results were perfect.
That’s the beauty of this dish. It’s not about precision or technique. It’s about tradition, memory, and joy. Whether you’re whipping them up for a cozy family treat or adding them to your brunch spread, Nun’s Puffs are more than just a pastry, they’re a light, delightful experience. They’re part of a shared food story that stretches through time.
Step-by-Step Recipe & Serving Notes
The Full Recipe With Tips
My go-to nun’s puffs recipe comes together with just a saucepan, a spoon, and a little patience. No fancy tools needed, just the basics and a hot oven.
Ingredients:
- 1/2 cup unsalted butter
- 1 cup whole milk
- 3/4 cup all-purpose flour
- 1 tablespoon sugar (optional for sweet puffs)
- 1/4 teaspoon fine sea salt
- 4 large eggs
- Powdered sugar or honey for serving (optional)
Instructions:
- Start by preheating your oven to 375°F. Grease a 12-cup muffin tin generously with butter or non-stick spray.
- In a saucepan, warm the milk and butter over medium heat until the butter melts and the mixture just begins to bubble.
- Add the flour, sugar (if using), and salt all at once. Stir quickly and firmly until the mixture thickens and pulls away from the sides of the pan.
- Remove from heat and let it sit for 4–5 minutes to cool slightly.
- Beat in one egg at a time, mixing thoroughly between each addition until the batter becomes smooth and glossy.
- Spoon the batter evenly into the muffin cups, fill each about two-thirds full.
- Bake for 30 to 35 minutes, until the tops turn golden and the edges are crisp. Avoid opening the oven too soon. Nun’s Puffs rely on steam to puff up perfectly.
- Let cool in the tin for 5 minutes. Serve warm with a dusting of powdered sugar or a drizzle of honey if you like.
Want a visual aid? Check out my Easy Puff Pastry Visual Guide for photos that walk you through every step.
Let’s Serve Something Beautiful
There’s something wonderful about watching a tray of golden puffs disappear in minutes. They’re at their best fresh from the oven, but that doesn’t mean you can’t plan ahead.
On slower mornings, I like to pair them with jam, marmalade, or even a swirl of lemon curd. For brunch spreads, arrange them with sliced fruit and a little bowl of honey on the side. They complement both sweet and savory dishes beautifully, making them incredibly versatile.
If you’re hosting, consider doubling the batch. They go quickly, and trust me, nobody eats just one. Want more serving inspiration? These Mini Apple Galettes and French Toast Cups pair beautifully for a themed spread.

Conclusion: Let Your Puffs Tell a Story
Every time I bake this nun’s puffs recipe, I’m reminded that joy often comes from the simplest places. A saucepan, a few pantry staples, and a hot oven are all it takes to turn ordinary ingredients into something warm, golden, and soul-soothing.
Whether you’re baking these for a quiet morning, a holiday brunch, or simply because the kitchen called your name, remember, perfection isn’t required. Just heart, heat, and a little curiosity. That’s what makes home baking beautiful.
Now that you’ve got the know-how, the tips, and the story, go ahead, make them your own. Dust with sugar, serve with jam, share them fresh out of the oven. Your next favorite pastry starts here.
FAQ: Nun’s Puffs Recipe Questions Answered
Why are they called nun’s puffs?
The whimsical name comes from the French term “pets de nonne,” which humorously translates to “nun’s puffs of air.” It’s believed to originate from traditional convent baking, where nuns made simple, airy treats using flour, eggs, and butter. Over time, the name softened, but the charm remained. Today, making this nun’s puffs recipe feels like keeping a sweet piece of history alive in every puffed bite.
What is the common problem in making cream puffs?
Most bakers run into deflation, those lovely puffs collapse right after baking. The cause? Usually pulling them from the oven too soon or adding eggs before the dough has cooled enough. Poor temperature control or an overly wet batter also plays a role. Follow the timing carefully and you’ll find this nun’s puffs recipe is far more forgiving than you’d expect.
Should you refrigerate cream puffs?
Refrigerating unfilled puffs is not recommended, it softens their crisp shell. Instead, keep them loosely covered at room temperature for a day. If they’re filled with cream, refrigerate immediately. For longer storage, freeze unfilled puffs and refresh them in a hot oven before serving.
How do you keep cream puffs from getting soggy?
Proper cooling is essential. Set your puffs on a rack with air circulation all around, and let them cool completely. If you’re storing them, reheat briefly in the oven to remove any lingering moisture. Avoid sealing them up while still warm. This helps your nun’s puffs recipe stay light and delicately crisp.
Why do my cream puffs go flat when I take them out of the oven?
Flats puffs are almost always the result of underbaking. Even if the outside looks ready, the inside might still be too soft to hold its shape. Let them bake until deep golden with a dry, hollow sound when tapped. And whatever you do, don’t crack that oven door early.
What is the best flour for choux pastry?
All-purpose flour works best, it’s strong enough to hold the puff, yet light enough for a tender interior. Bread flour can add too much chew, while cake flour won’t hold the structure. If you’re new to choux, stick with all-purpose for a foolproof nun’s puffs recipe.
